We finally finished up all the painting today. Spray painting took forever. Half a day yesterday and half a day today. As I mentioned in my previous post I would not use aerosol cans again. Instead I would get a cheap HVLP gun from Harbor Freight.
I did find that the grow beds had the best adhesion. The grow beds and sump we used the flexible rubber coating, but since it was so expensive we didn’t use it on the fish tank. Well guess what the paint peeled off the fish tank when putting it back in the cage. You can see a triangle of light shining through the back in the picture below. With the tanks we used the flexible rubber coating the adhesion was much better. If we weren’t careful we could still scratch the paint off but it didn’t peel like the fish tank did.
I still don’t think the flexible rubber coating was worth the money. They sell a clear adhesion promoter as a primer for plastic. That’s what I will use next time, in a gallon so I can spray it with my HVLP Gun.
When setting up the tanks and pads I used paver base and then paver sand to help level and lock everything in. I set a basic 12×12 paver on top of that. and then where necessary I used the cinder block. Now I didn’t end up digging down into the ground at all. The reason was is that the location I chose had zero top soil. It was all packed hard as a rock Oklahoma clay. So we just set up on top of that. I think it’ll get us by, however within the next year I plan on getting a greenhouse set up and move this so I’m not as worried about long lasting support.
Anyway enjoy the pictures and I look forward to the plumbing tomorrow.
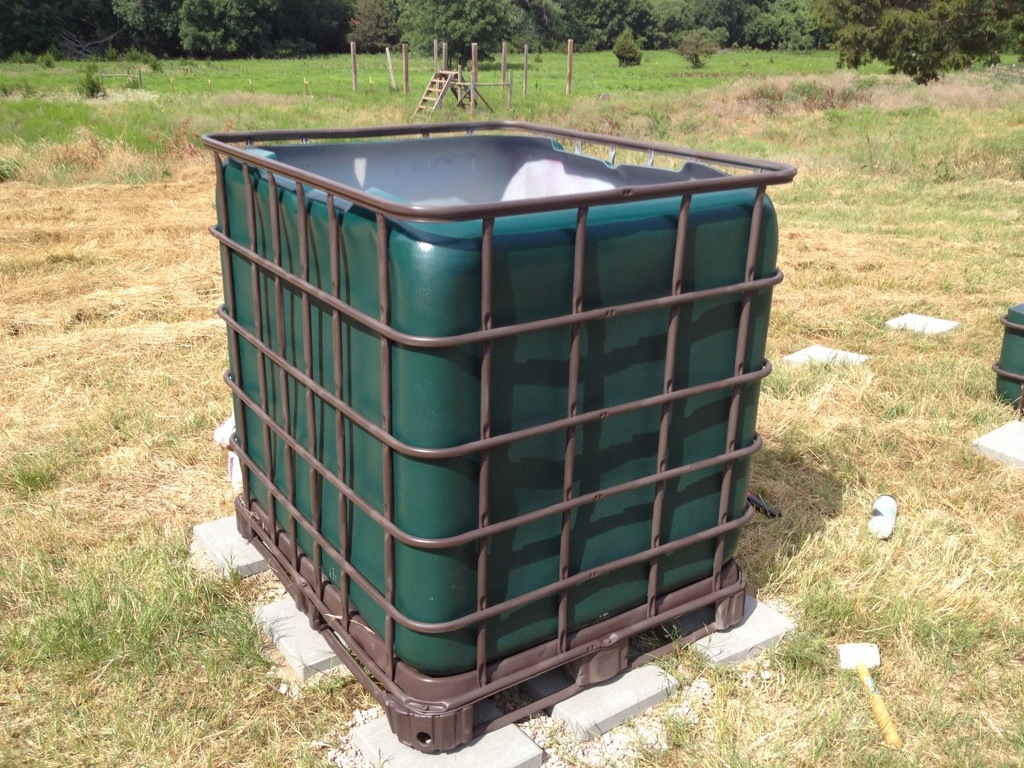
Setting the fish tank
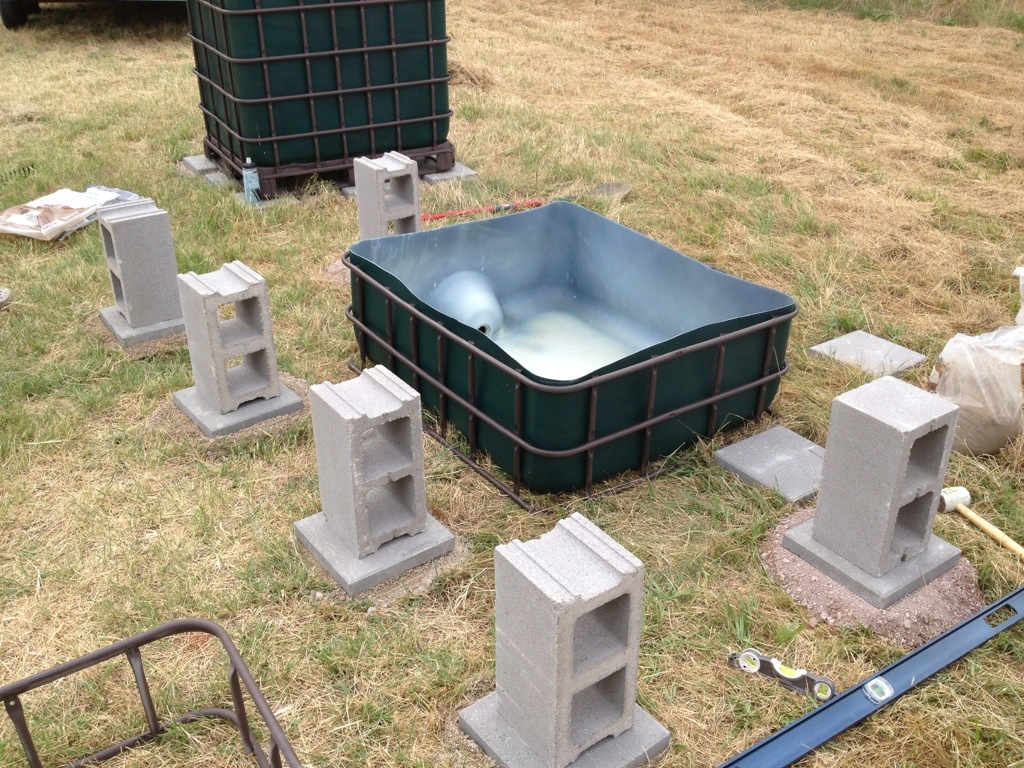
Initial Setting of grow bed pads
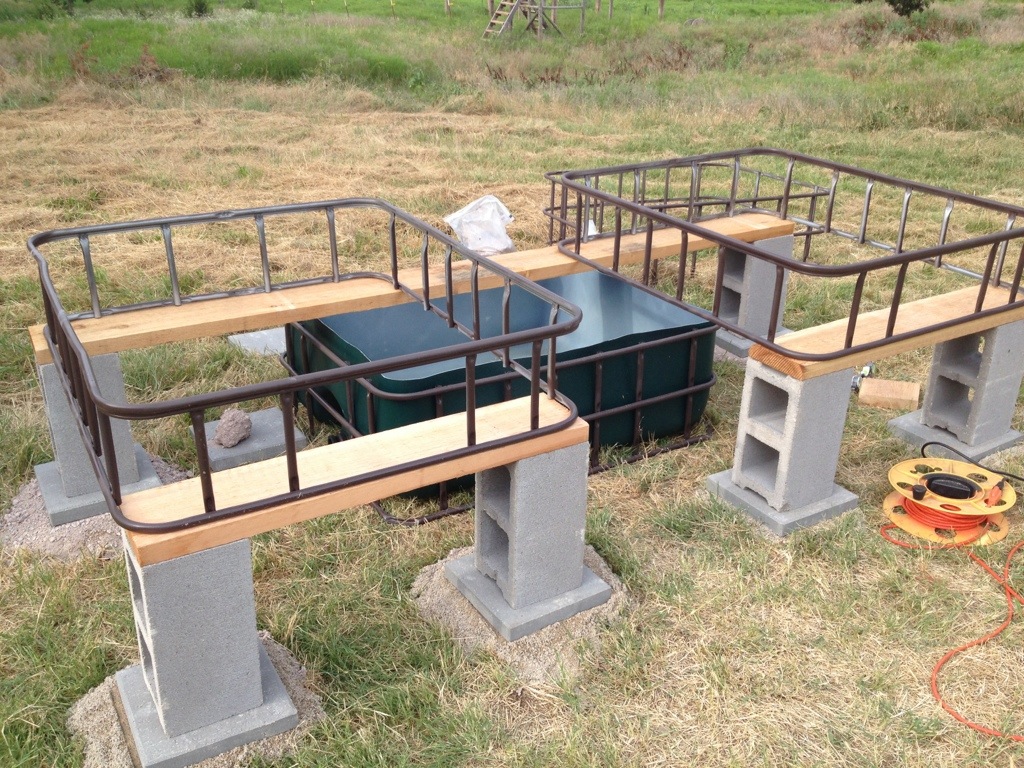
Testing spacing on everything
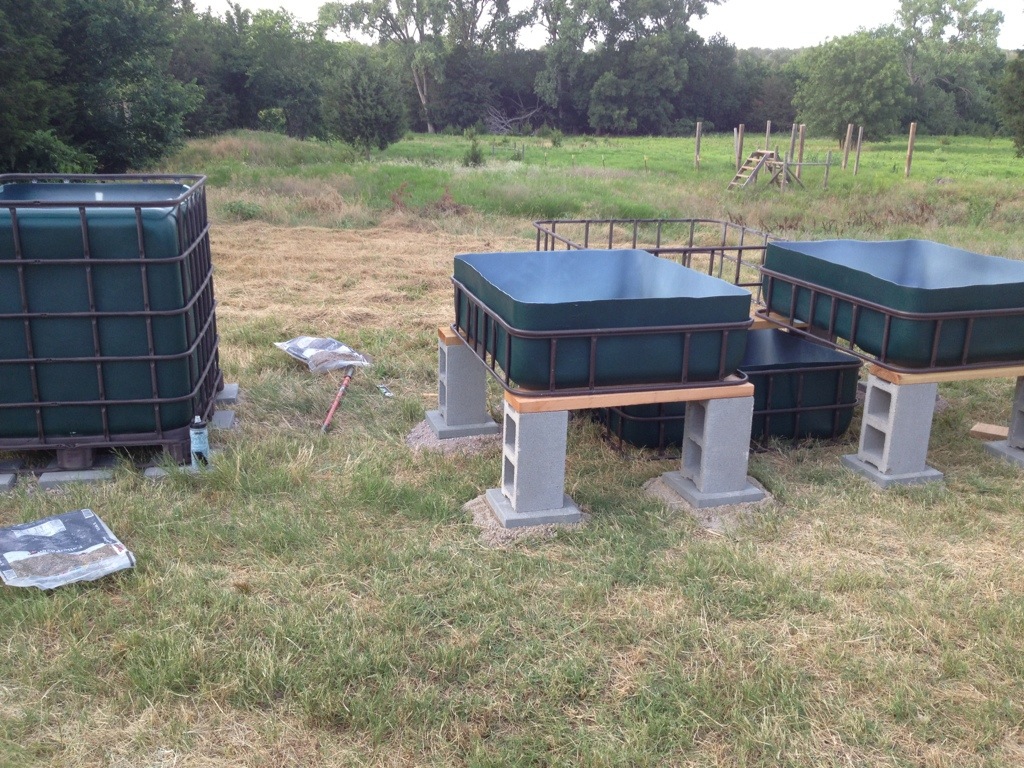
Getting close to all set
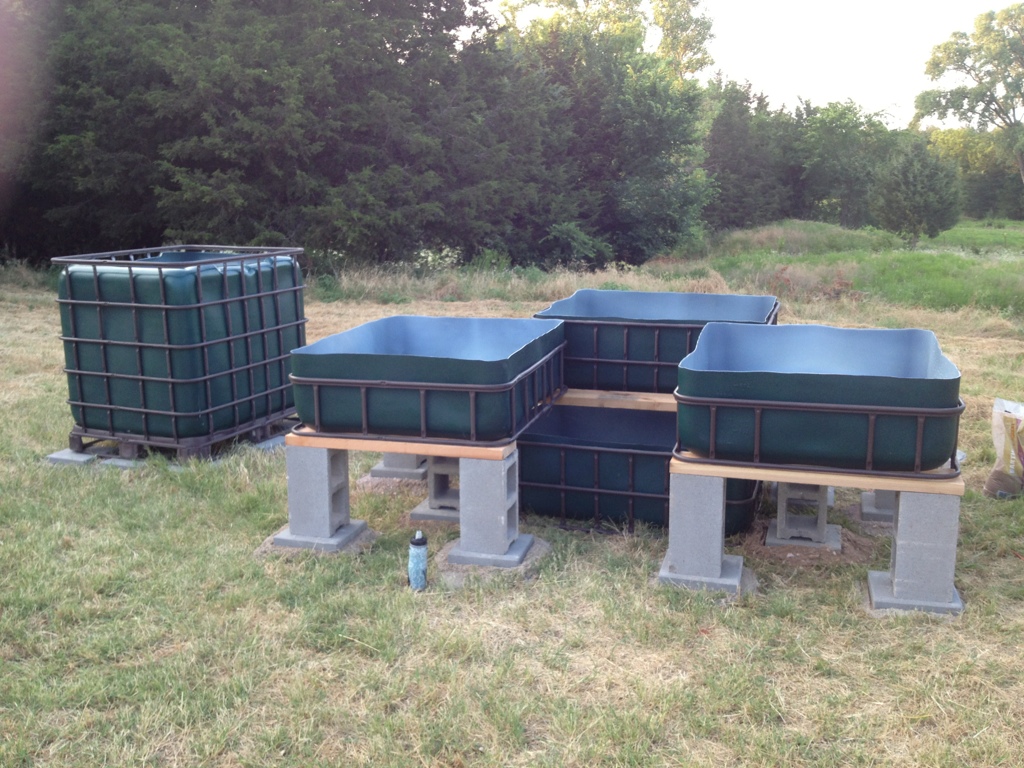
Everything set and ready for plumbing — Tomorrow
Leave a Reply