So it took me a couple of days after work to get my totes cut up but they are finally ready.
I’ll include all the pictures below. Here are a few things I learned along the way.
- I could use a razor blade to cut the totes. It’ll dull the blade quick, but it works well and no filing edges after. The easiest and safest is to put the tote on its side and push down from top to bottom. It is a little difficult but no jumping around and it seemed a lot easier to do solo.
- When I was cutting the cages with the grinder. I was having trouble getting all the way through on my second one. Finally I realized my wheel had worn away. I guess I wasn’t thinking that’s how it would wear down. They were only $2 each so make sure you have extras.
That’s about all of the extras I learned. The rest I either knew or expected from research. Naturally if you have any questions post them below and I’ll answer.
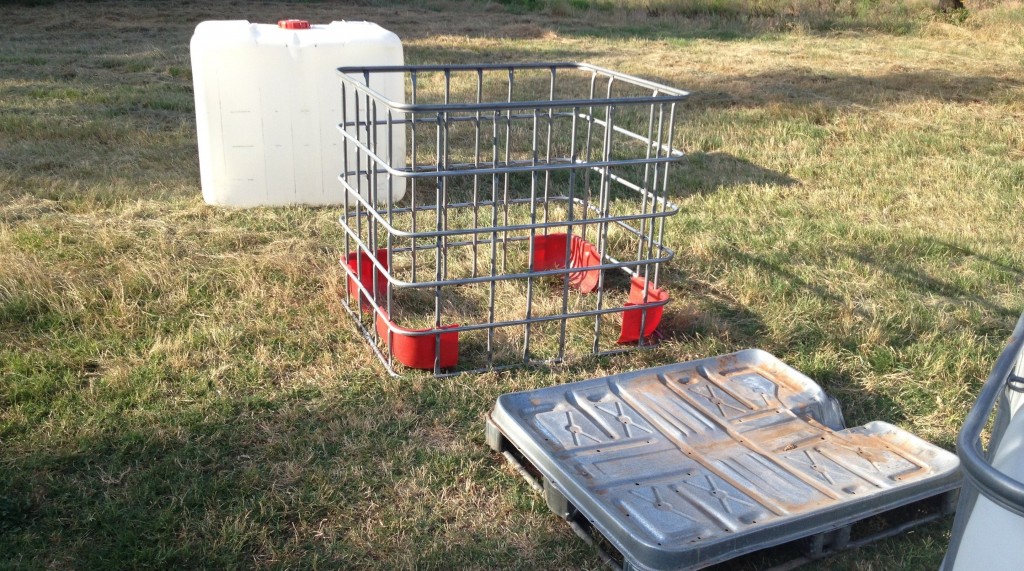
The totes taken apart. No drill just a socket since those are the Torx bits I had.
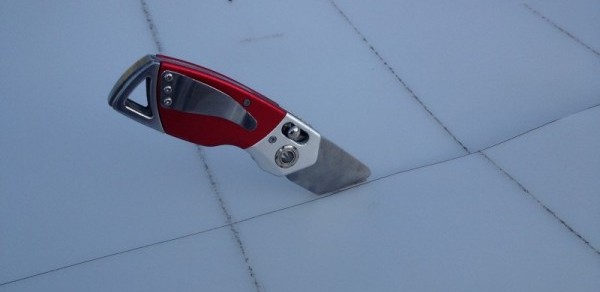
I cut mine up with just a razor blade. I had a jigsaw but didn’t want to clean up the edges later or deal with holding it all by myself.
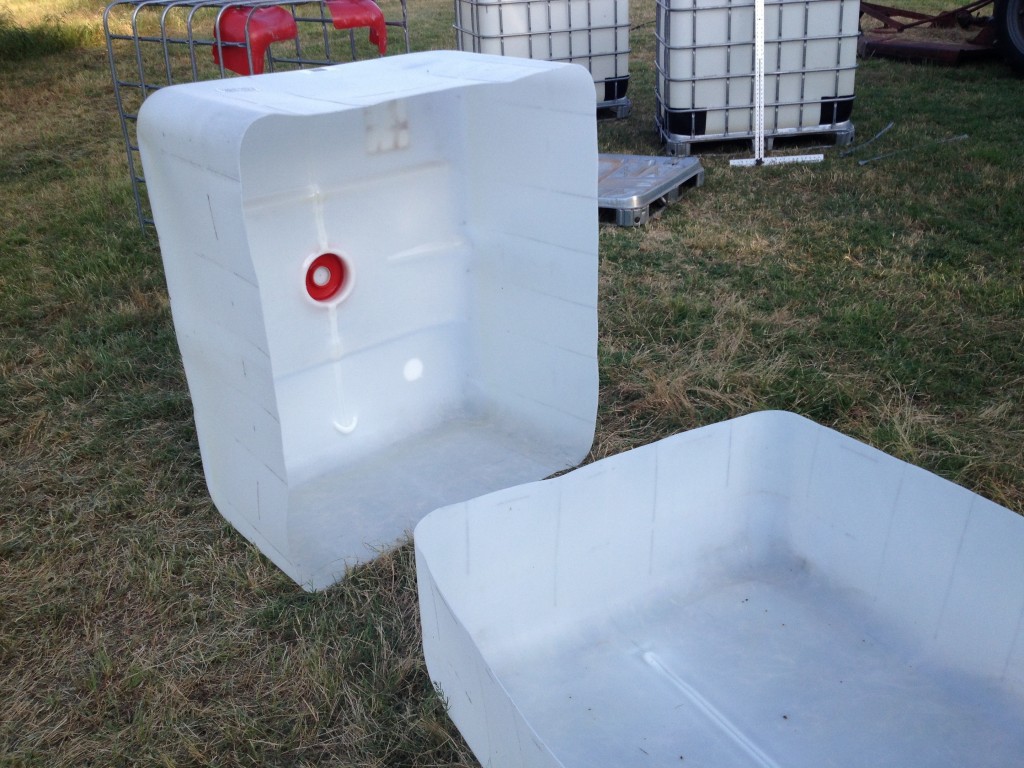
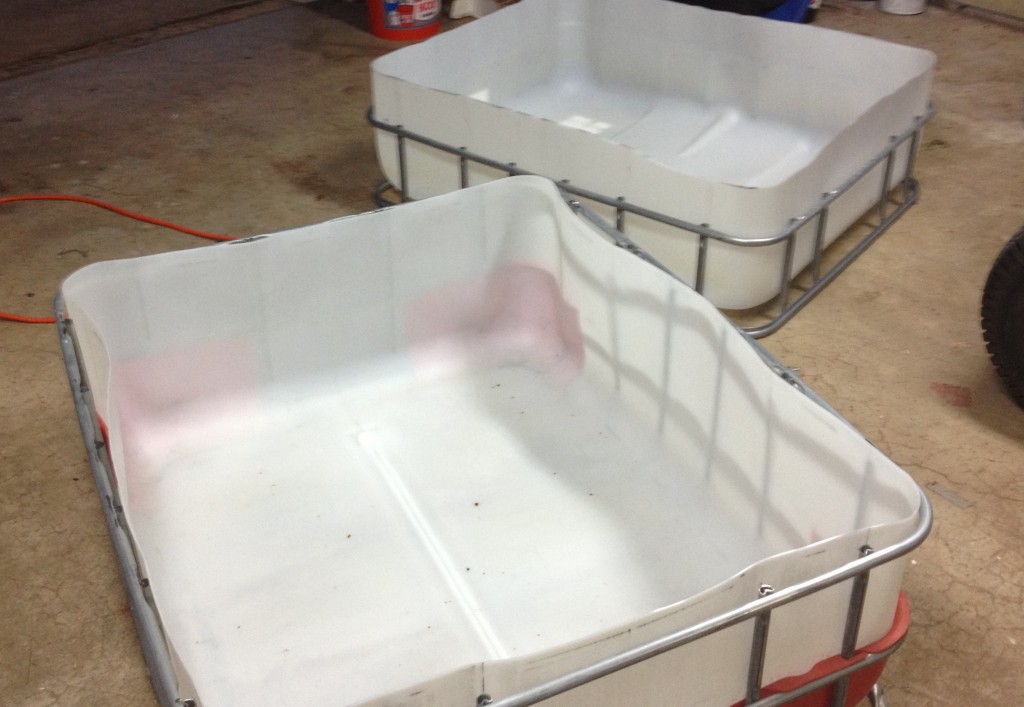
Here’s the first one cut up. 16″ from the bottom for sump, 14″ from top for bed.
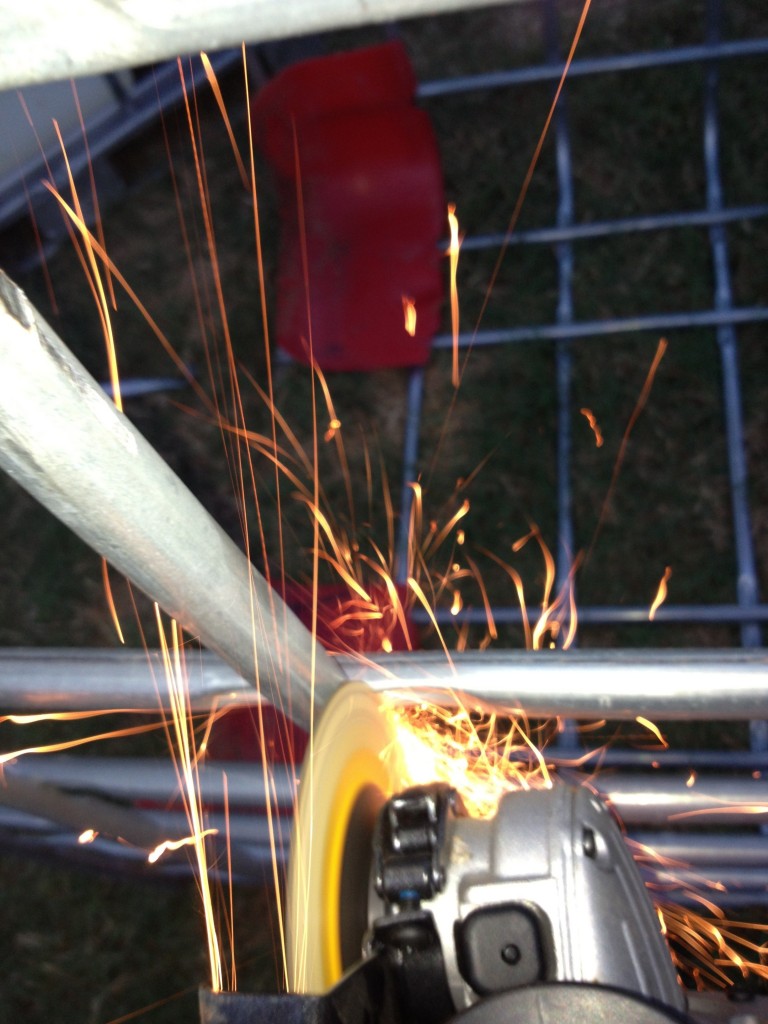
And the sparks are flying. (don’t wear sandals while doing this like I did)
There we go. All ready for set up and plumbing
Leave a Reply